

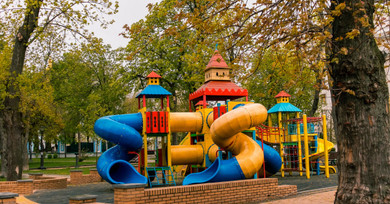
Most playground installation guides assume you're working with a clean rectangle. A flat, even square of ground with straight edges and predictable dimensions. The reality for many parks, schools, and apartment communities is something far messier.
You might be working around a sloped hillside, a mature tree root system, a curved walkway, or a property line that runs at an angle across your space. That's why knowing how to customize your playset border layout becomes essential.
Customizing border layouts for irregular play areas is about maximizing your usable space and building a play environment that works for the children who use it. With the right guidance, you can meet safety standards and satisfy your community's needs.
Understanding the Purpose of a Playground Border
Before you start problem-solving an odd-shaped site, it helps to understand the purpose of borders. A playground border is not decorative trim. It serves several critical safety and operational functions that directly affect how long your surfacing material lasts and how well your play area performs over time.
A properly installed playset border holds your safety surfacing in place. Whether you use engineered wood fiber or rubber mulch, foot traffic and weather will naturally cause that material to shift outward. The border acts as a retaining wall that keeps the depth where it needs to be, which is the whole point when you're trying to maintain ASTM and CPSC compliance.
Borders also define the fall zone. Regulatory guidelines specify minimum surfacing coverage around equipment, and your border should reflect those dimensions. When you're working with an irregular area, maintaining the correct fall zone depth throughout the entire perimeter becomes more complex, but no less important.
Planning Your Layout Around an Irregular Shape
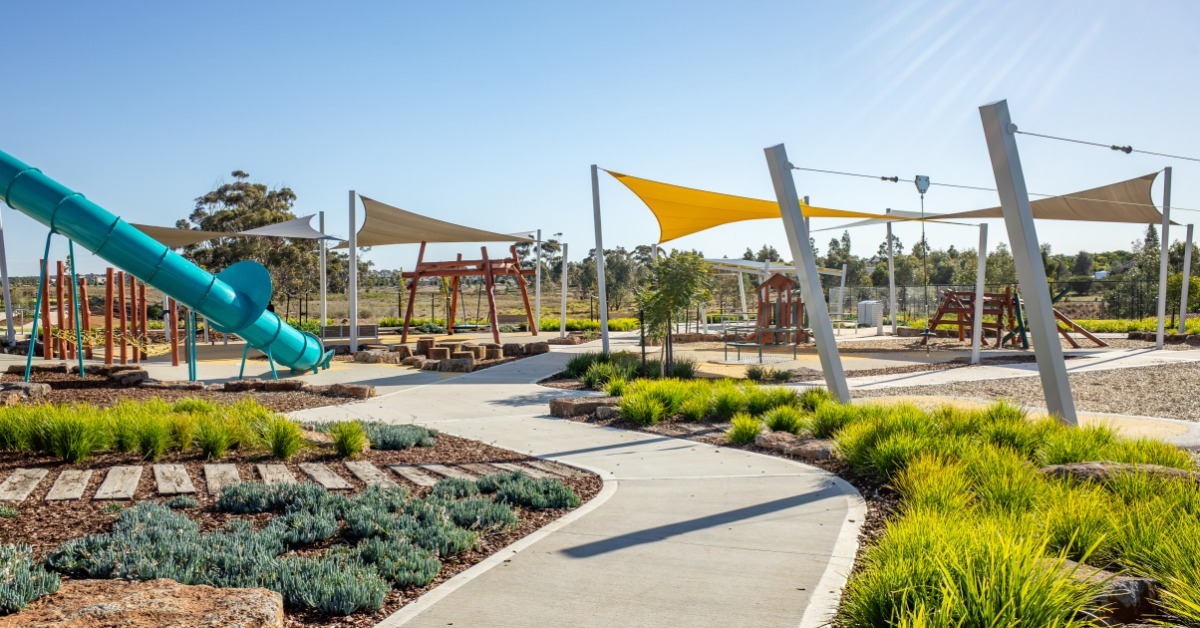
Site assessment is where the real work starts. Walk the area with a measuring tape and a sketch pad before you commit to any layout. Identify every constraint: tree lines, drainage slopes, sidewalk edges, fencing, utility access points, and any grade changes.
Once you have an accurate picture of the space, you can begin segmenting it. Rather than trying to force a single border system around the entire perimeter, treat irregular areas as a series of connected zones. A play area that wraps around a tree, for example, can be divided into straight-run sections that meet at custom angles.
A few practical steps for planning your layout:
- Measure the longest straight segments of your perimeter first and use those as your anchor points.
- Mark the locations of any obstacles or grade transitions before finalizing border placement.
- Calculate the fall zone dimensions for each piece of equipment and confirm that the border extends far enough to accommodate the required surfacing depth.
- Check drainage flow patterns to ensure the border does not inadvertently redirect water into the play area.
- Note any access points (maintenance gates, emergency egress) that require intentional gaps or removable sections.
Investing in this step will save you a great deal of time during installation and help prevent expensive rework. Careful planning early on makes the entire project run more smoothly and efficiently.
Choosing the Right Border Materials for Non-Standard Layouts
Not every border system handles curves, corners, and angles equally well. The material you choose affects how much flexibility you have when navigating a non-standard perimeter.
Timber and Landscape Timber Borders
Pressure-treated timber is a common choice for playground borders because of its durability and visual appeal. On irregular layouts, timber works well along straight segments but requires additional cutting and hardware at corners or angled intersections. For gentle curves, stacked timbers at reduced lengths allow you to approximate a curved line without requiring specialty fabrication.
Plastic and Composite Borders
Plastic and composite border systems often come in interlocking sections, offering greater flexibility for angle adjustments. Many systems include corner connectors and curved pieces as standard components. For an irregular site, these systems tend to be more forgiving and reduce the need for custom cuts. They also resist rot and moisture, which matters in high-traffic outdoor environments.
Rubber Border Systems
Rubber borders can flex around curves and uneven terrain in ways that rigid materials cannot. They conform to grade changes better than timber or composite systems and remain anchored as the ground beneath them shifts slightly during freeze-thaw cycles. For sites with significant irregular elements, rubber borders offer the most flexibility while still effectively containing the surfacing material.
Connecting Sections at Angles and Curves
Regardless of the material you select, the connections between border sections are where most installations encounter problems with irregular layouts. For angled connections, cut your border ends at matching miter angles, so the sections meet cleanly without gaps.
Gaps make it easy for surfacing material to spill out, increasing the risk of tripping at the perimeter’s edge. Use heavy-duty fasteners or stake systems appropriate for your material, and check that each connector sits flush with the surrounding grade.
For curved sections, shorter segment lengths create smoother arcs. Using six short sections to form a curve creates a smoother, more functional border than trying to shape it with just two long pieces.
Accounting for Grade Changes
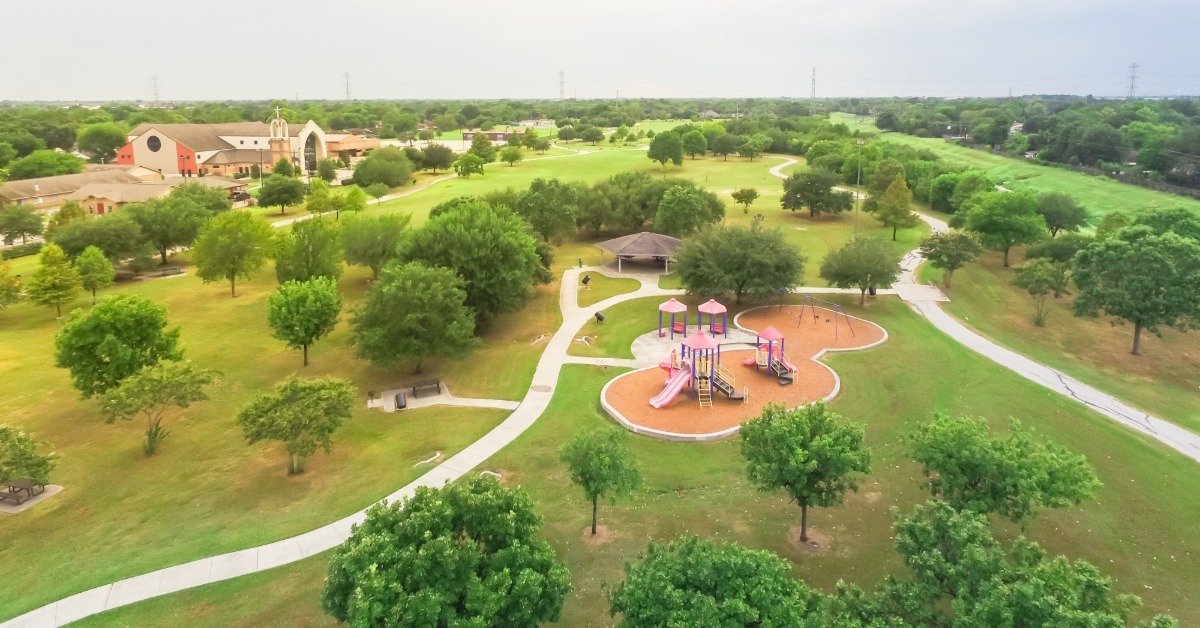
Flat ground is a luxury. Many play areas are built on sloped ground, even if the incline is slight. This added slope makes installing the border more challenging than on flat ground.
On a sloped perimeter, the uphill side of your border will be closer to the surface material, while the downhill side will need to be built higher to hold the necessary depth for impact protection. This means your border height needs to vary around the perimeter to maintain consistent surfacing depth throughout.
Stepping and Stacking Techniques
One of the most practical approaches to grade management is stepping the border down along the slope. Instead of running a single continuous border at a single height, you install level sections at progressively lower elevations, each connected by a perpendicular transition piece. This creates a terraced effect that keeps each section level while accommodating the overall grade change.
For steeper slopes, stacking border layers on the downhill side provides additional height without requiring taller single-piece border sections. Stacking two timbers on the downhill side of a slope gives you the same containment height as using a single tall border on flat ground.
Drainage Considerations
Changes in elevation also influence how water flows through the play area. When you install a border on a slope, you create a low-point barrier that can collect and redirect water. Build in deliberate drainage gaps, or use a gravel base beneath the border, to allow water to pass through without pooling in the play area. When water collects in a bordered play area, it accelerates surface breakdown and creates unsafe conditions.
Finalizing and Inspecting the Installation
After installing the border, thoroughly inspect the entire perimeter before adding the surfacing material. Check each connection point for gaps, verify that the border height maintains the correct surfacing depth around every piece of equipment, and confirm that the completed perimeter matches the fall zone requirements in your safety plan.
It also helps to walk the perimeter from a child's perspective. Look for any points where the border itself could present a tripping hazard, especially at transitions between sections or at grade steps.
Customizing border layouts for irregular play areas requires more planning than a standard rectangular installation. The effort delivers a play environment that fits your space accurately and holds up under real-world conditions.
With the right materials and a methodical approach to layout, even the most challenging site can support a safe and functional playground. Discount Playground Supply carries the border systems and playground equipment you need to complete your project and deliver quality play areas for your community.